★★★★★
Rated 4.9/5 . 500+ verified traders


$450k+ Paid to traders worldwide
⚡ Industries Cheapest Instant Funding
If you have ever identified a perfect "Rally-Base-Drop" supply zone, set your limit order, watched the price wick right through your stop loss, and then immediately reverse 100 pips in your intended direction, you have experienced the difference between retail trading and institutional reality.
Most intermediate traders treat Supply and Demand (S&D) and Smart Money Concepts (SMC) Order Blocks as interchangeable synonyms. This misunderstanding is exactly why so many traders become liquidity for larger market participants.
In this guide, we will break down the critical differences between Order Blocks and Supply/Demand zones, explain why traditional S&D often fails, and show you how to combine both concepts to pass your Next Level Funded evaluation with sniper-like precision.
What Are Supply and Demand Zones?
Supply and Demand trading is a foundational technical analysis concept. It operates on the economic principle that price moves based on the imbalance between buyers (demand) and sellers (supply).
- Supply Zones: Areas where sellers outnumber buyers, causing the price to drop. These are typically identified by a "Rally-Base-Drop" or "Drop-Base-Drop" pattern.
- Demand Zones: Areas where buyers outnumber sellers, causing the price to rise. These are typically identified by a "Drop-Base-Rally" or "Rally-Base-Rally" pattern.
The Problem with Traditional S&D
The issue with traditional S&D is that it relies on visual patterns without requiring structural validation. A "base" can form anywhere in a trend. If you trade every consolidation cluster you see, you will often find yourself fighting the overall market momentum.
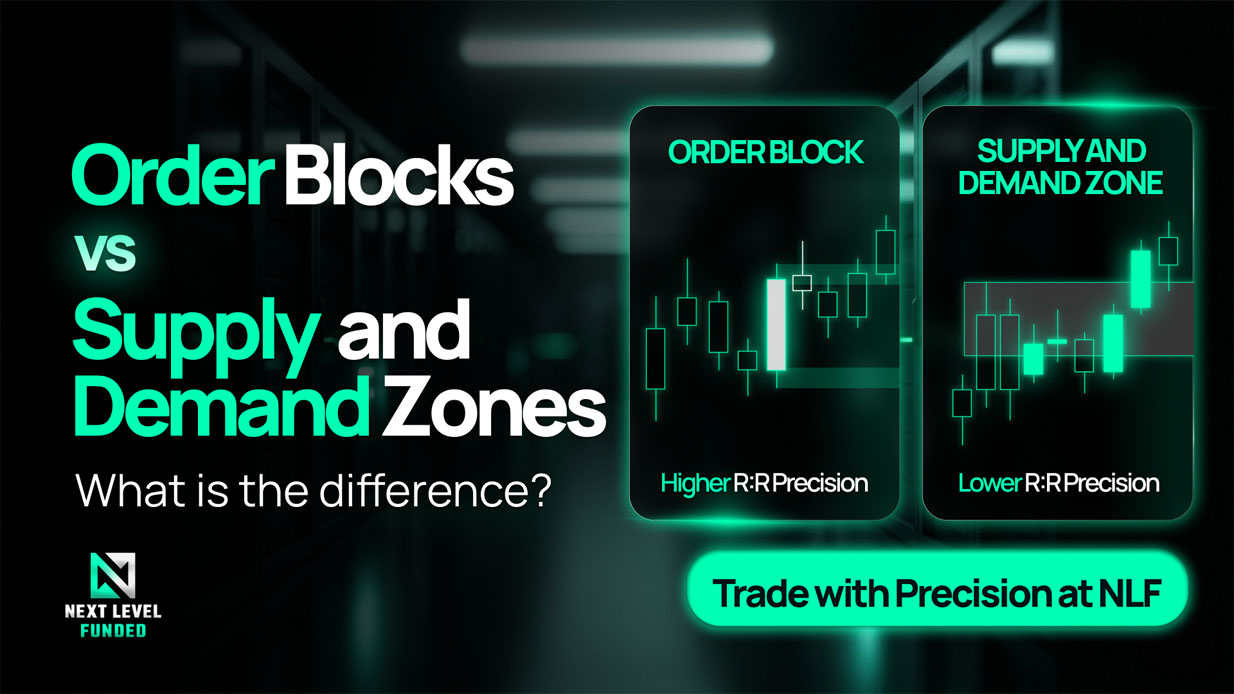
Furthermore, S&D zones are usually massive. Traders will draw a rectangle over three, four, or even five candles. This creates a wide zone that requires a large stop loss, making it difficult to achieve a high Risk-to-Reward (R:R) ratio.
What Are Order Blocks (OB)?
In the world of Smart Money Concepts, an Order Block is not just a cluster of candles; it is a tool of institutional intent. It is the specific, final contrarian candle (the "funding" candle) before an impulsive move that breaks market structure.
- Bearish Order Block: The last up-close candle before a massive drop that causes a Break of Structure (BoS) or Change of Character (CHoCH).
- Bullish Order Block: The last down-close candle before a massive rally that causes a BoS or CHoCH.
This specific candle represents the final moment institutions were accumulating their positions before allowing the price to expand rapidly.
The Necessity of Structural Validation
For an Order Block to be valid, it must result in a Market Structure Shift (MSS). If a supply zone forms but fails to break the previous swing low, it is not a valid SMC Order Block. It is likely just a pause in price before the market continues higher to hunt more liquidity.
By requiring a structural break, SMC traders filter out "weak" S&D zones. They aren't just looking for where the price moved; they are looking for where the big players successfully changed the direction of the trend.
Order Blocks vs Supply and Demand: Head-to-Head
The Liquidity Trap: Why Your S&D Zone is Just Inducement
Smart money knows exactly where retail traders place their S&D limit orders and stop losses. Often, institutions will "engineer" a beautiful-looking supply or demand zone specifically to act as bait.
This creates a pool of liquidity (stop losses) that the institutions then sweep to fuel their actual move from a deeper, hidden Order Block. This concept is known as Inducement (IDM).
If you see a "clean" double top or a very obvious support level, do not trade it blindly. Wait for the liquidity sweep. Once the price sweeps the obvious S&D zone and taps into an unmitigated SMC Order Block, that is your signal to enter. You are now trading with the banks, not against them.
Combining Both for Prop Firm Success
You do not have to choose between S&D and SMC; you can use them together in a Multi-Timeframe Funnel. This is a highly effective strategy for passing prop firm evaluations at Next Level Funded.
- The Macro Map (1H or 4H): Use traditional Supply and Demand zones to identify the overall context. This tells you where the price is likely to react on a larger scale.
- The Micro Scalpel (15m or 5m): Once price enters your higher time frame S&D zone, look for an internal Market Structure Shift (CHoCH). Identify the specific, refined Order Block that caused that shift.
- The Sniper Entry (1m): Refine that 5m Order Block down to a 1m candle for the ultimate entry, allowing for a tiny stop loss and massive R:R potential.
Apply Your Edge with Next Level Funded
Understanding the difference between an Order Block and a Supply/Demand zone is what separates profitable traders from those who constantly get swept. Once you master this precision, you need a prop firm that allows you to capitalize on it.
At Next Level Funded, our trading environment is built for precision traders. We offer raw spreads, no hidden rules, and instant execution. Whether you are trading our 1-Step Evaluation or utilizing our Instant Funding accounts (starting at just $10), your SMC edge is fully supported here.
Stop risking your own capital on wide S&D zones. Refine your entries with Order Blocks and trade up to $200,000 in funded capital today.
More Blogs
.png)
.png)
June 6, 2026
The Cheapest Prop Firm Accounts in 2026: Giving Access to Traders from All Walks of Life
Read Story.png)
Become a Next Level Funded Trader
Receive evaluation credentials instantly and login to the dashboard.
The most trusted prop firm for serious traders. Verified payouts, transparent rules, and a founder who puts his name on every promise.
Let's talk
© Next Level Funded 2025 | All Rights Reserved